Beginner's Guide To Making First Open Source Contribution. (1/2)

The thought of contributing to Open Source projects as a beginner can be daunting and as a result of this, a lot of people new to programming shy away from Open Source contributions. In this post, I'll walk you through making your first Open Source contribution in a hassle-free way. Your first contribution doesn't necessarily have to be you contributing complex code, it can be you fixing documentation or fixing a bug.
In this post, I'd be assuming you have a GitHub account already, if not open a Github account here. Also, GitHub desktop would be used to make our first contribution which can be downloaded from here. Without further ado, let's get to making our first contribution.
Fork the repository
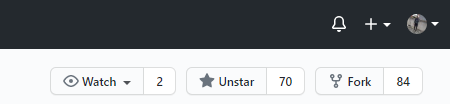
The first step in making our contribution is to fork the repository which we want to contribute to. We would be contributing to collaboration for beginners. To fork a repo, click the fork button at the top right corner of the window.
Clone the repository
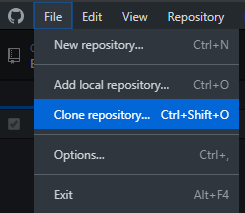
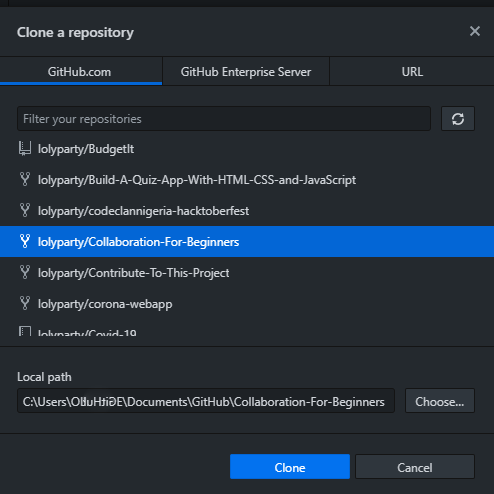
To clone the repo, open your GitHub desktop app, click on the file in the menu bar, from the dropdown, click on clone repository. Click on the repository you want to clone from the modal then click clone.
Create a new branch
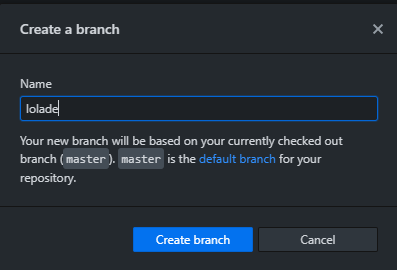
A branch allows us to make changes without affecting the master branch. It's always good to create a branch when contributing to projects. From the status bar, click on the branch tab, click on the new branch option from the dropdown and type your branch name then click the create branch button.

Make changes to the repository
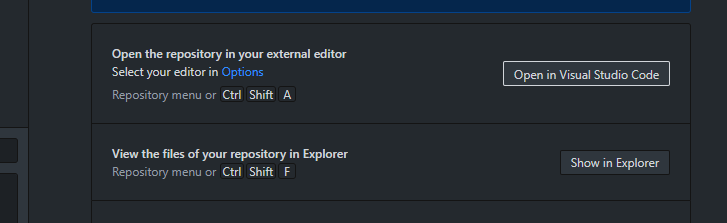
To make changes to the repo, open the repo files in your IDE, and make changes to it. Here, we would be making changes to the contribution.md.
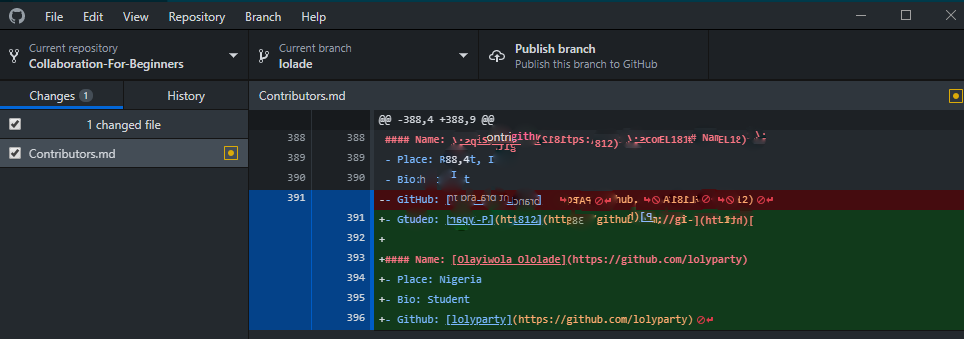
Changes made are displayed like this(picture below). Green highlight signifies insertion while red highlight signifies deletion.
Commit changes
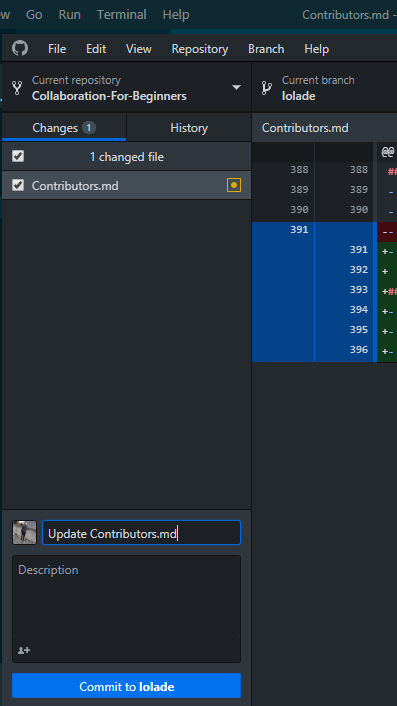
We need to commit changes made to the repo(saving with Git). Fill the bottom left input with your commit message then click commit.
Pull Request
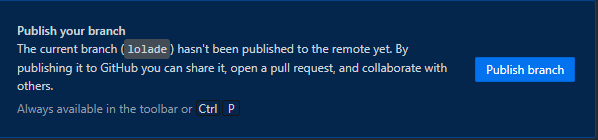
Before we make a pull request, we need to publish our branch to our remote repo on GitHub as it is still local. To do this, click on the publish branch button.
According to GitHub,
Pull requests let you tell others about changes you've pushed to a branch in a repository on GitHub.
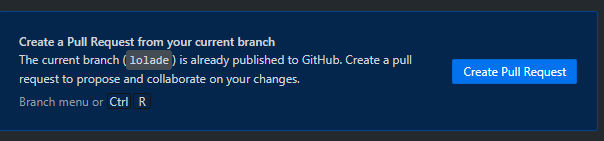
Click on the pull request button.
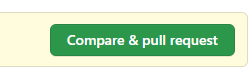
Go to your forked repository in your browser, click compare and pull then click on the create pull request button.

Hurray! You've successfully made your first Open Source contribution. Here are other beginner-friendly open source projects you can contribute to.
N.B. Always read the contribution section of the README to see what's required of you to make contributions to a project and also if the project allows contributions.
Also, check my sequel post on making first Open Source contributions, where I explained making contributions using the command line.


